The Outback’s hatch can do more than lift the luggage out of your way.
Learn the fitted controls at home, then pack around the way you actually travel. Features vary by model year and equipment; photos illustrate the situations and may show a different vehicle.
1. Set the hatch height to clear your garage
On an equipped 2023 Outback, the Power Rear Gate memory lets you choose where the hatch stops. Subaru’s getting-started guide places the setting under Home, Settings, Car, then Power Rear Gate. Later models can use different controls, so match the procedure to your year.
For the documented 2023 procedure, turn the gate memory off, open the hatch and pause it at a suitable height. With the area clear, make the permitted gentle adjustment and hold the inside close button until the confirmation occurs. The guide explains that the setting then saves and enables memory.
Leave room beneath the garage hardware rather than setting an exact near-contact height. Parking position can change clearance. Test a full close-and-open cycle while watching from a safe position, and confirm that the person who uses the hatch can reach the handle comfortably.
Test the setting from the place you actually stand when unloading, not just from the driver’s seat. The edge should be easy to see and comfortably clear of your head. A setting that protects the ceiling but forces every person to duck deserves another adjustment.
2. Practice the hands-free hatch gesture

For the equipped 2023 Outback’s hands-free gate, the gesture is near the Subaru emblem, not a universal kick beneath the bumper. Subaru’s guide describes holding a hand or arm over the emblem without touching it until the chirp, then moving away.
The key must be with you and the required operating conditions must be met. Practice with empty hands and keep clear of the moving gate. The ordinary button remains the sensible choice when footing or space makes the gesture awkward.
The guide also shows a disable button for this hands-free function, useful when washing the vehicle or working around a carrier. Learn that control before accidental activation becomes the surprise.
3. Set up and test PIN-code entry
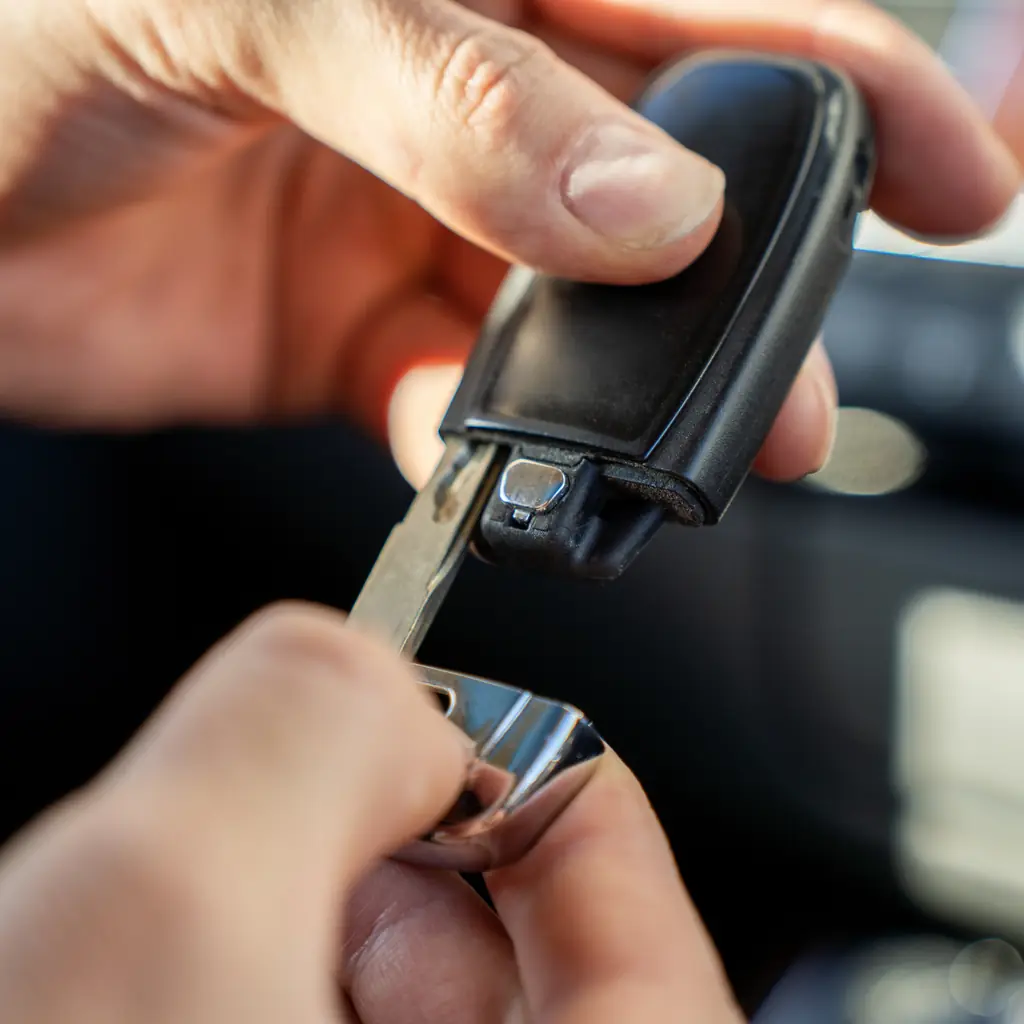
Eligible Outbacks with keyless access offer PIN-code entry through the appropriate rear lock button. It is a separate feature from the PIN used for connected services in the phone app.
Use Subaru’s instructions for your exact vehicle to register a secure code and test entry repeatedly while you still have a working key available outside the vehicle. Follow the required keyless-access precautions; simply putting a live fob inside is not the complete procedure.
Choose a code that is not easily guessed, keep it private and maintain another access plan. This is useful preparation for activities where carrying a fob is awkward, not a reason to discover the feature for the first time at a remote trailhead.
4. Store the cargo cover beneath the floor

On the 2023 Outback arrangement shown in Subaru’s guide, the cargo cover can be stored beneath the cargo floor when not in use. That can save you from balancing the removed cover across the rear seat or leaving it behind when plans change.
Try the storage position with the floor empty. Confirm that your actual cover, spare-tire arrangement and fitted accessories allow the intended placement. Close the floor properly before loading.
Avoid storing anything loose where it can obstruct a latch or become a projectile. The designed position is useful because it gives an awkward long object a secure home, not merely because the compartment happens to be hidden.
5. Clear the rear camera with its washer

Subaru’s 2023 Outback guide describes a rear-view-camera washer that operates with the rear window washer. The 2025 brochure also lists a rear camera with washer. On an equipped vehicle, that can clear the lens when a dirty view would otherwise send you outside with a cloth.
Use the documented rear-washer control and check whether the image improves. Stubborn dirt or an obscured lens still needs appropriate cleaning; a spray does not prove the camera sees every obstacle.
Our CR-V controls guide makes the same distinction between a useful aid and a substitute for looking. Check the surroundings before reversing, even when the picture becomes clear.
Check the washer-fluid supply before relying on the feature during a dirty journey. If the system is not clearing the lens, stop somewhere safe to inspect it rather than repeatedly operating the control while the camera view stays unusable. Keep a suitable cleaning cloth in the travel kit.
6. Keep spare-tire tools easy to reach
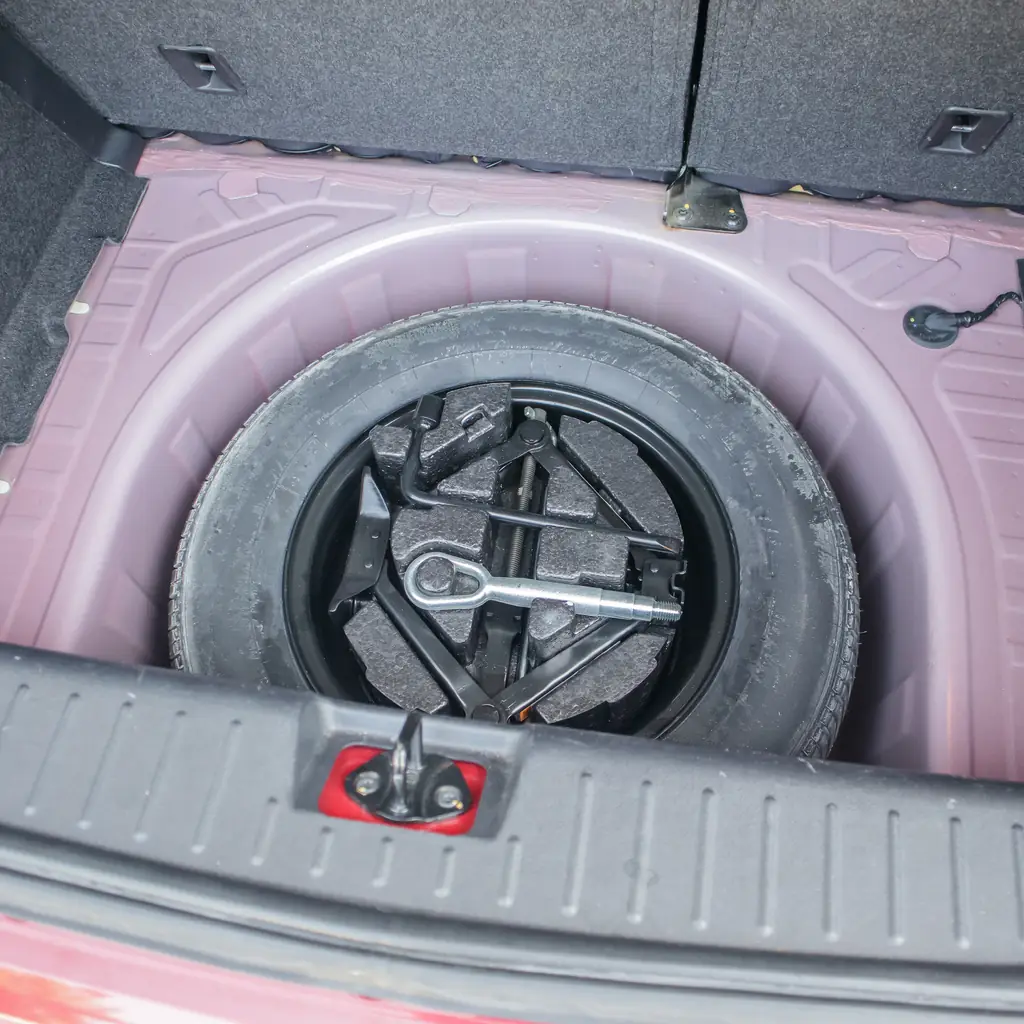
The Outback’s under-floor area can hold the spare and maintenance tools as well as fitted storage. Open it before a trip and learn what your version contains, including whether it has a temporary or full-size spare.
Keep that access in mind when loading. A floor covered with several tightly wedged cases can turn a simple tool check into a complete unloading job. Do not remove essential equipment merely to make room for an organizer.
The Forester weekend setup also starts with the real cargo arrangement. Two vehicles from the same brand can have different spare and storage layouts, so inspect the one parked in your driveway.
7. Save your seat and mirror positions
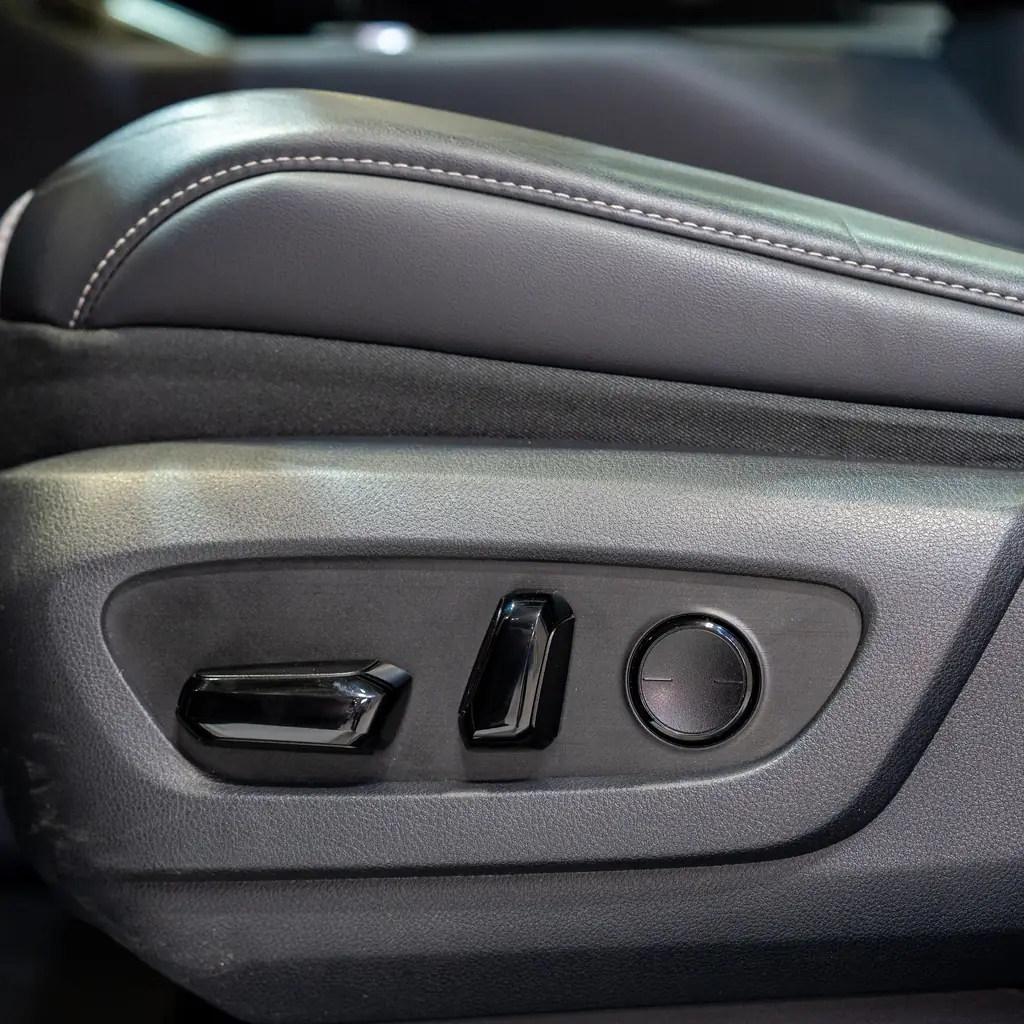
An equipped Outback can retain driver preferences, with the precise features depending on year and trim. The 2025 brochure lists memory seat and mirror equipment on certain trims; DriverFocus recognition is another equipment-dependent system rather than a promise for every Outback.
Set the seat and mirrors carefully while parked, then save the position using the controls provided. Have the second driver create and test their own arrangement. Keep people and objects clear of moving seats.
Our Highlander family setup treats comfortable, correct positioning as the first task. A saved setting is only helpful when the starting position actually suits the person who will drive.
8. Fold part of the rear seat for long items
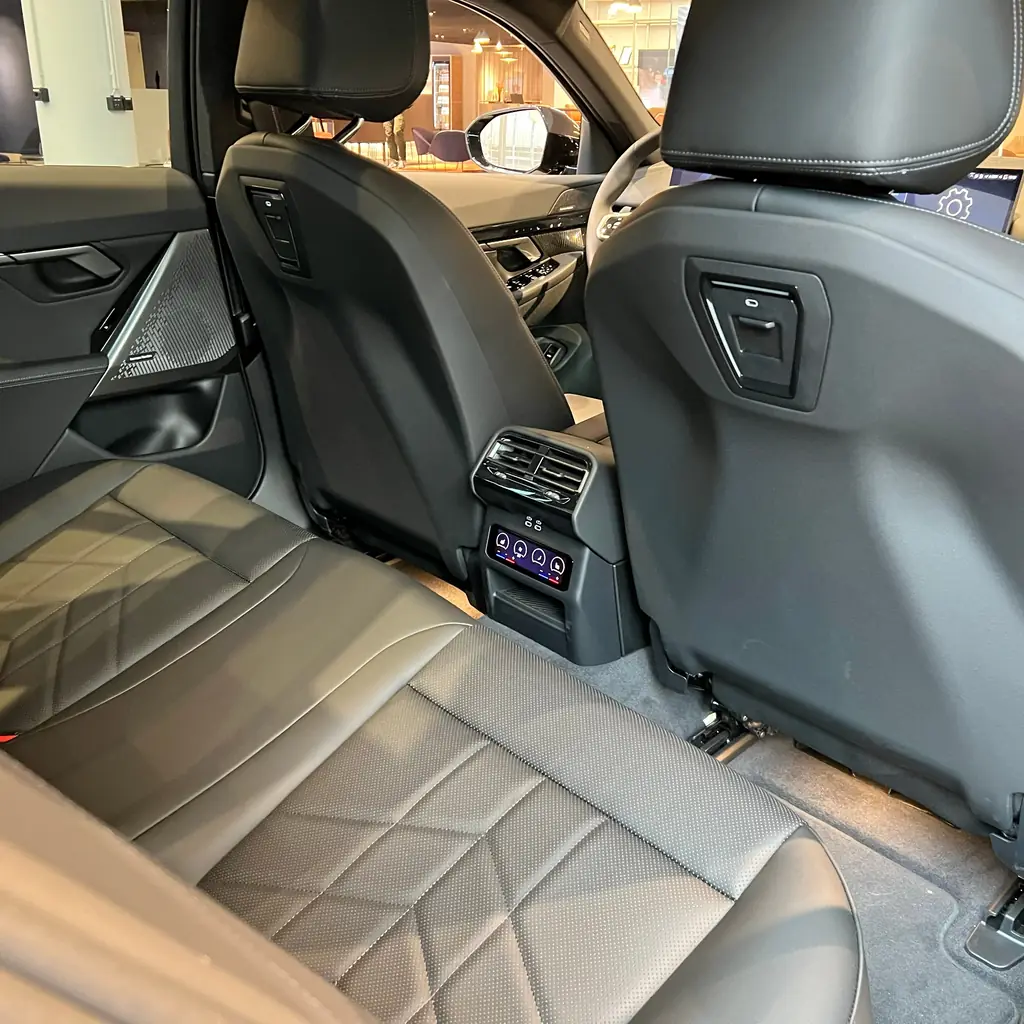
Before folding the entire rear row, decide which passenger positions you still need. The Outback’s split rear seating can let a suitable longer item share the vehicle with passengers, provided the load is properly secured and does not intrude into occupied space.
Use the fitted cargo-area release levers where available, and check that any seat returned upright latches correctly. Keep seat belts clear of the folding mechanism.
The Pilot packing guide applies the same useful sequence: people first, load second. A large cargo-volume number is less relevant than whether the specific bag, passenger and belt buckle can coexist safely.
9. Pack a container for wet and muddy gear
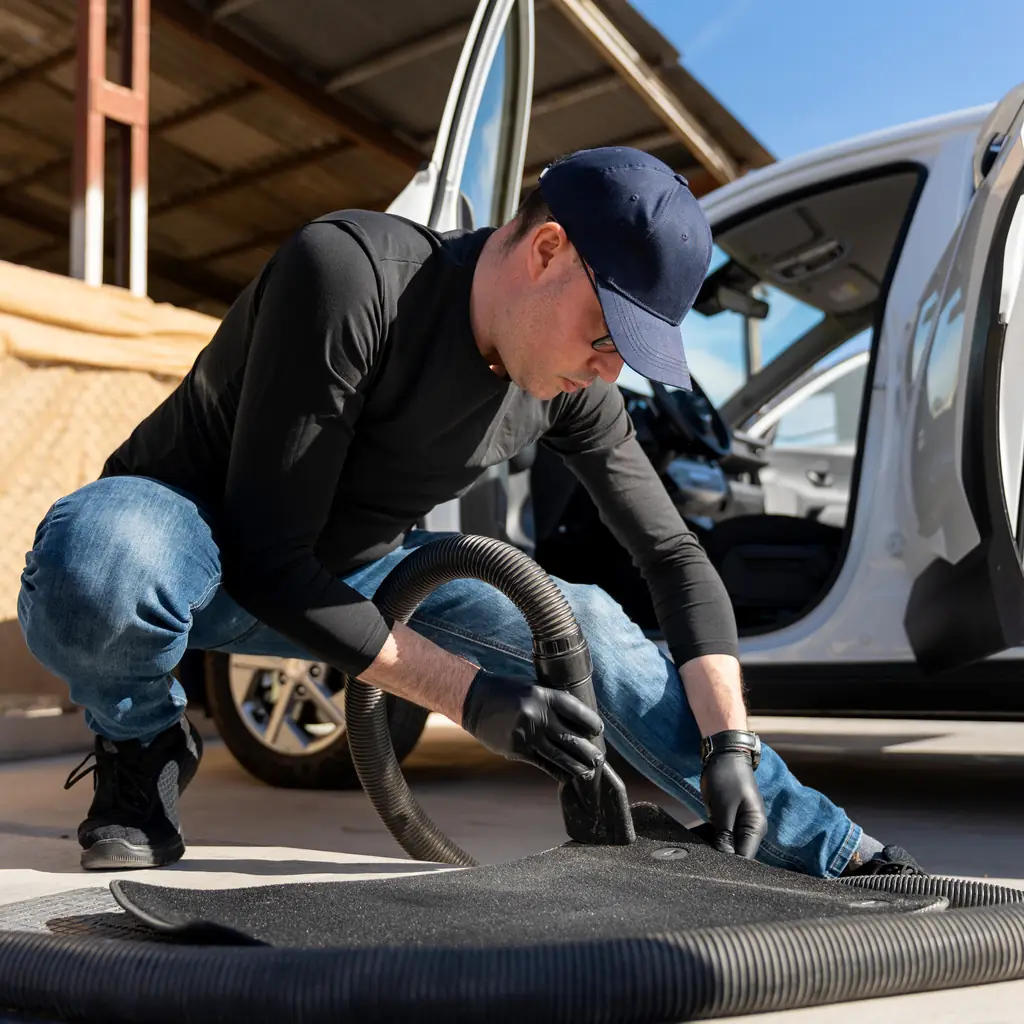
The outbound load is often dry and neatly folded. The return load may include wet jackets, muddy shoes and a damp dog towel. Give those objects a place before leaving rather than improvising over the upholstery afterward.
Use a suitable tray or container that fits your Outback and keeps the mess contained without blocking important access. Water-repellent upholstery on a particular trim is not a guarantee that every surface or stored object can be soaked.
Our car-camping rehearsal includes this change in conditions. The arrangement should work at the end of the outing, when everyone is tired, as well as in the clean packing photograph.
10. Check roof-rack compatibility and weight limits
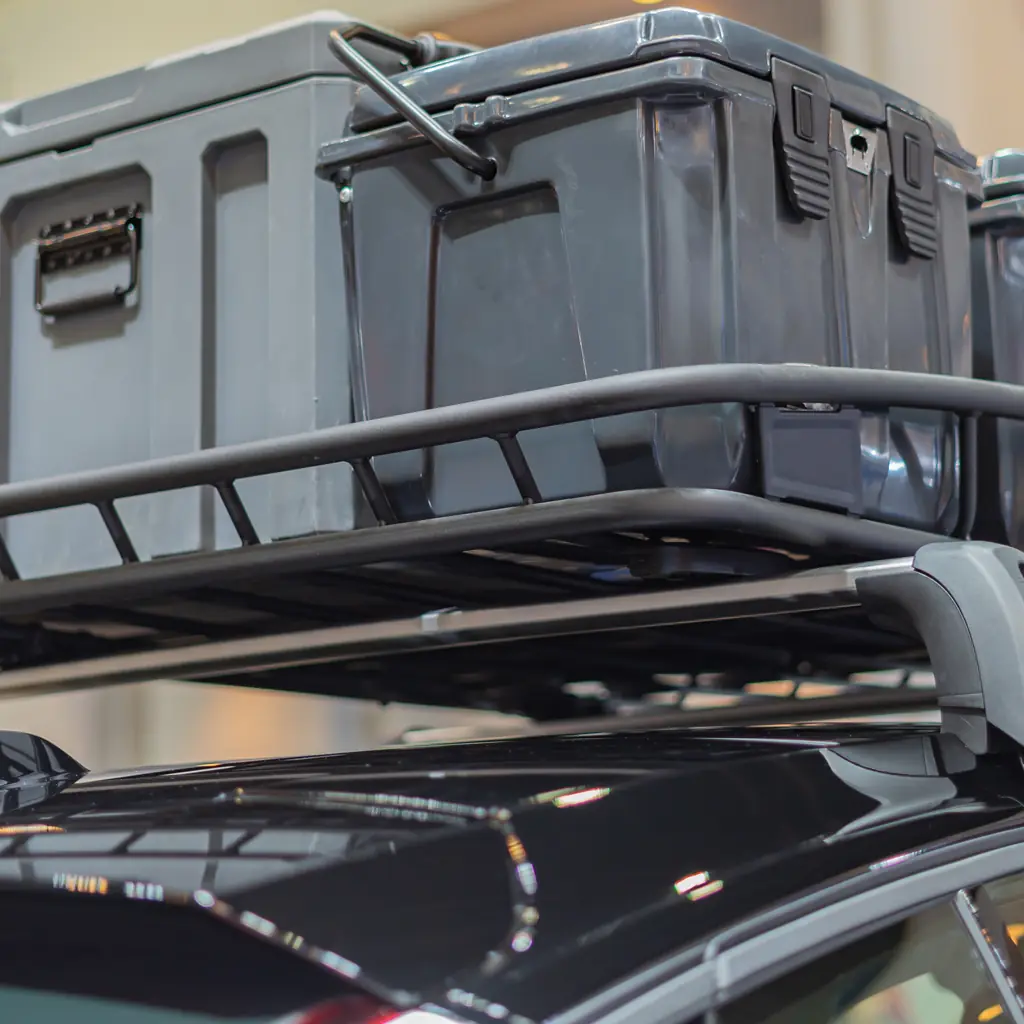
Outback roof arrangements differ, including the Wilderness design described in Subaru’s 2025 brochure. Do not assume a rack, tent or load limit from one trim transfers to another.
Identify the vehicle, rails, crossbars and accessory as a complete system. Check the limits and instructions for all of them, including whether a quoted figure concerns a moving vehicle or a parked one. The lowest applicable limit matters.
This belongs with the whole-vehicle loading checks. A strong-looking rack does not remove the effect of passengers and cargo on the vehicle’s overall load, and an accessory’s capacity does not raise the roof rating.
Measure the total traveling height after the roof equipment is fitted. Keep that number available for parking garages and other clearances, and recheck it when the load changes. A familiar car becomes a different height as soon as the rack carries something above it.
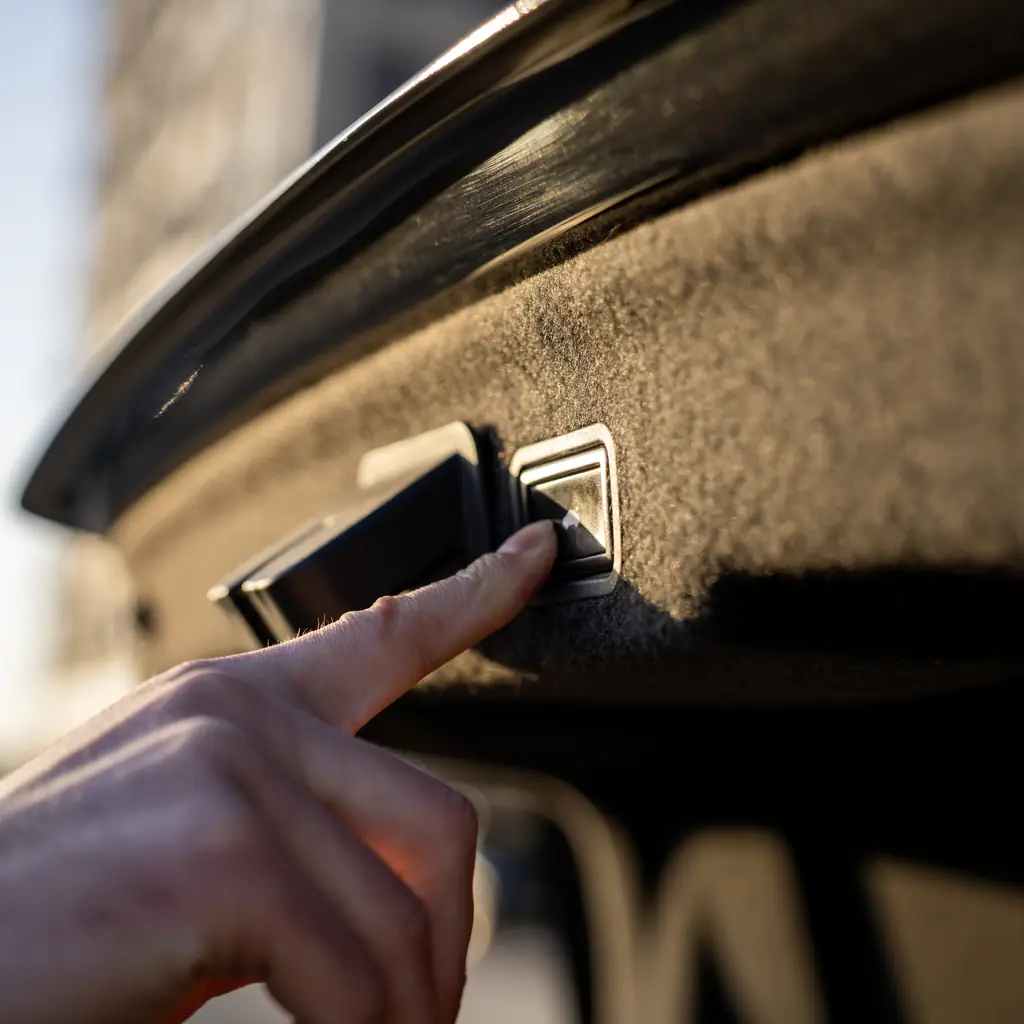
11. Try the hatch's close-and-lock button
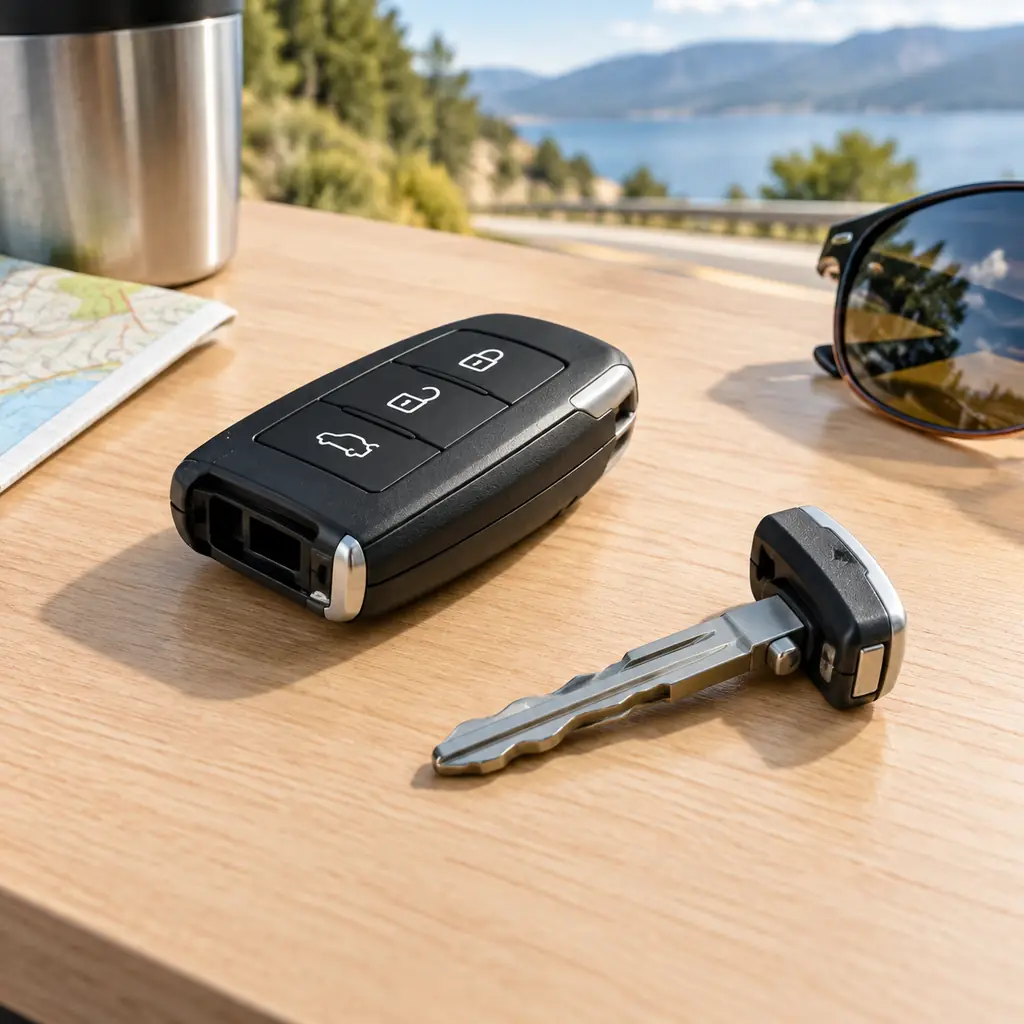
An equipped Outback’s inner hatch controls can include a close-and-lock button. Subaru’s guide explains that this closes the gate and locks the relevant doors, which can spare you another reach for the fob after unloading.
Test it at home with the key on your person. Check the confirmation and verify the result rather than assuming every hatch button performs the same action. Keep the opening clear until movement has stopped.
Do a passenger and belongings check first. A convenient locking routine must never replace checking every seat for children, pets or items that should not remain in the vehicle. The button finishes the departure; it does not make the decision for you.
12. Test your packing setup before the trip

Load the actual daypacks, footwear, water and jackets, then perform the stop in your driveway. Open the hatch, retrieve what you need and close the vehicle with the key arrangement you intend to use.
Notice which item forces you to move everything else. Shift that object or change the bag rather than immediately buying a new organizer. Confirm that the load remains secure and the emergency equipment remains accessible.
Repeat the exercise with the imaginary wet return gear. A successful setup gives clean items, muddy items and people somewhere sensible to go. That is when the hatch controls and storage details begin to feel like useful features instead of forgotten entries in a brochure.
Sources & photo credits
Sources & references Manuals and supporting information
Photo credits Photographers, sources and licences
Featured collage
- 2024 Subaru Outback Convenience in Magnetite Grey Metallic, rear left, 2025-05-01.jpg by Elise240SX, CC BY-SA 4.0.
- Subaru Outback Touring XT (2024) (53624345079).jpg by Charles from Port Chester, New York, CC BY 2.0.